Camera Installation
Easy installation options for your construction camera
Install Easily Yourself
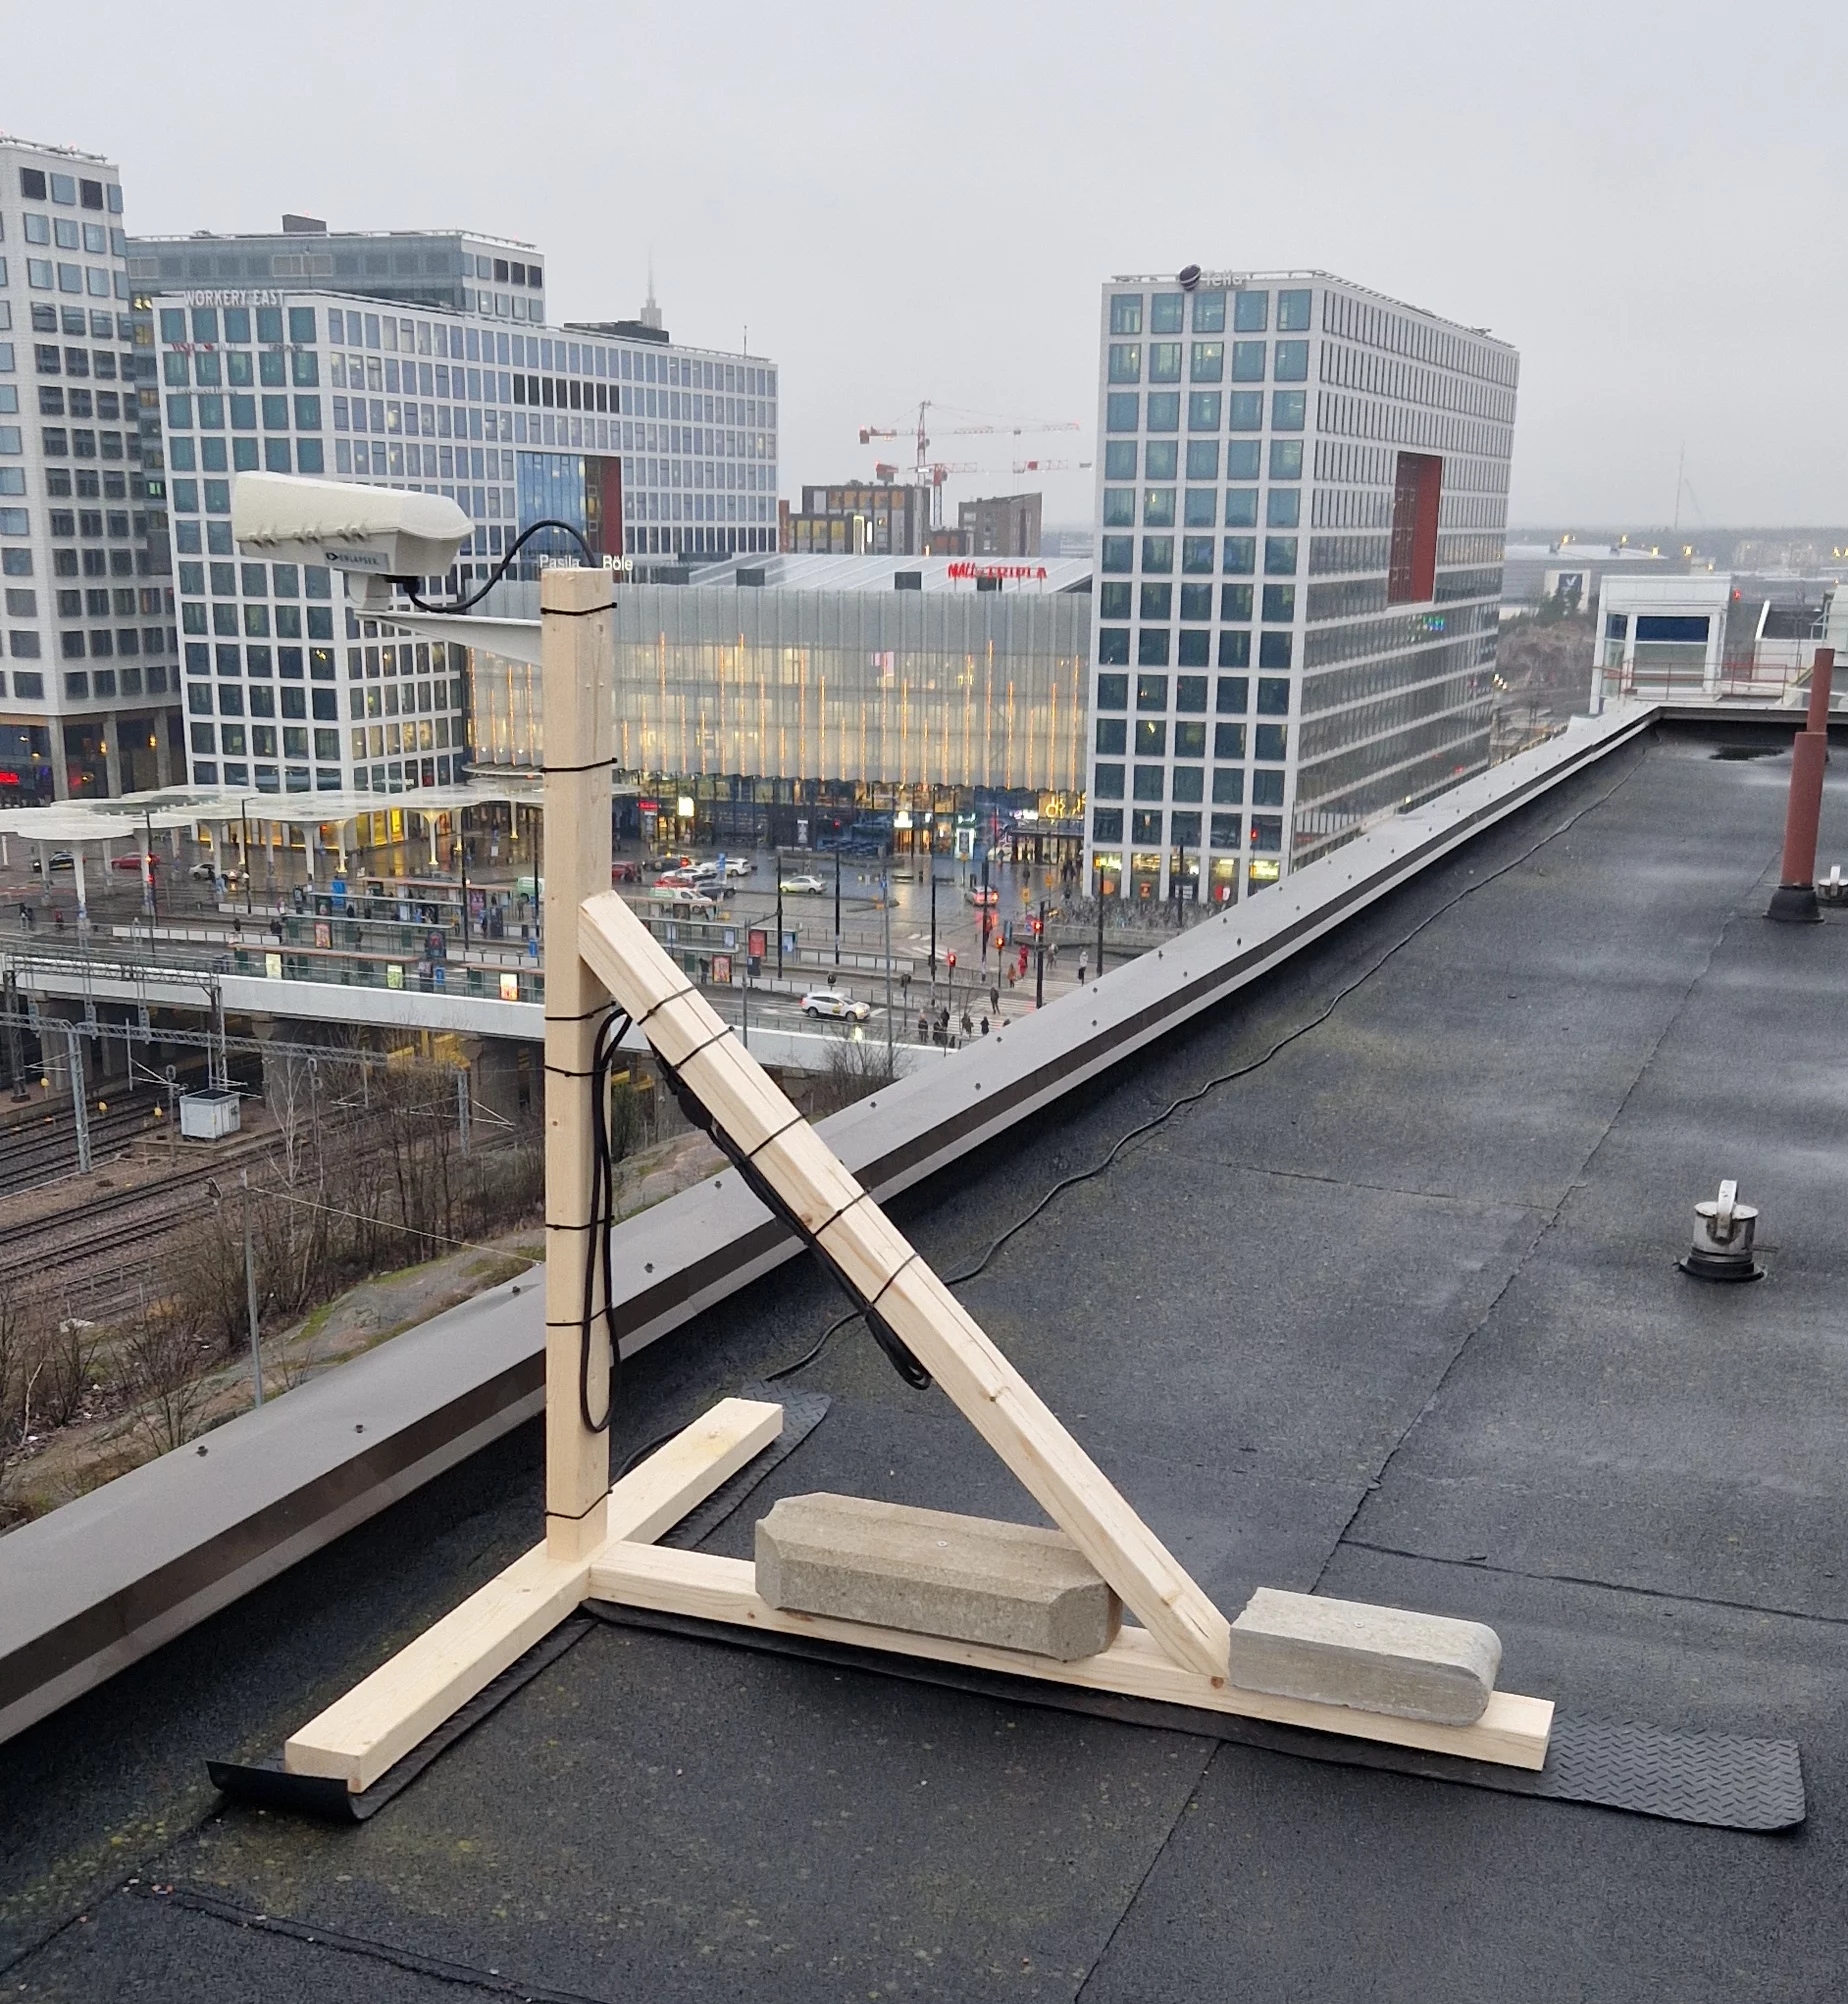
The camera works completely automatically once it's connected to power. The camera comes with a standard foot that includes four holes for mounting screws and a joint for camera alignment.
The camera weighs approximately five kilograms
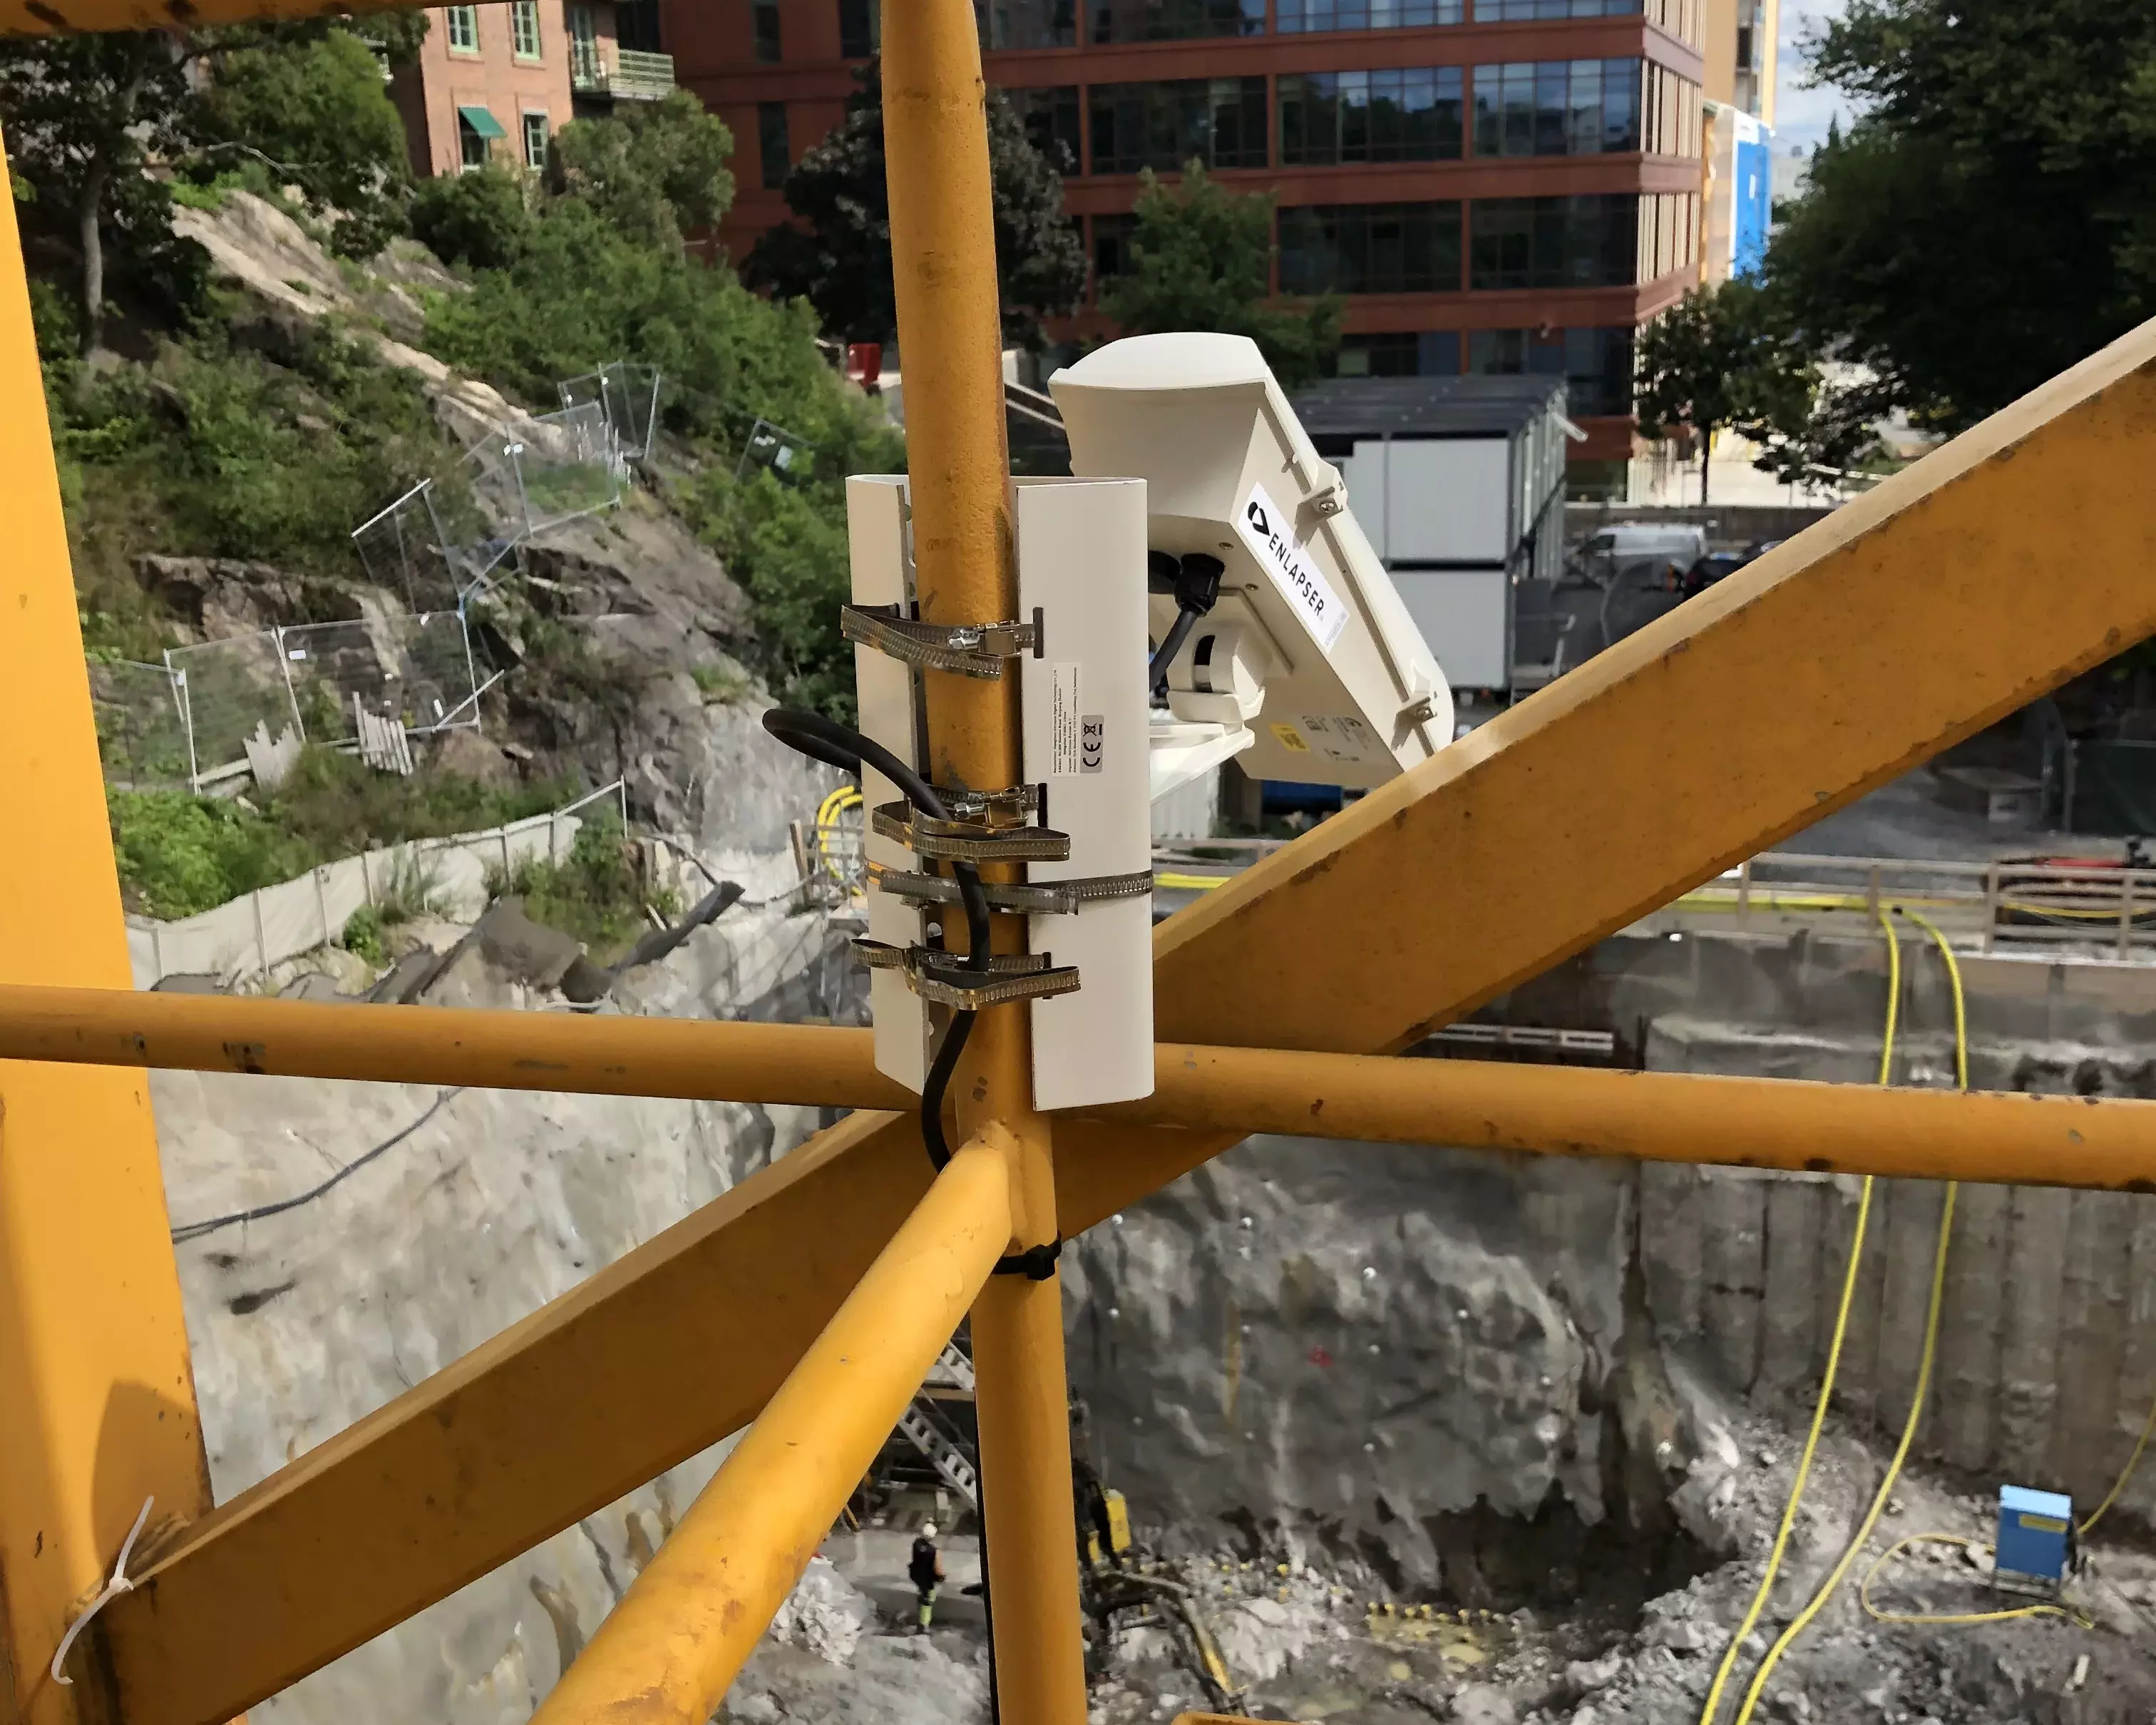
Can be easily attached to railings using pipe clamps
Can be mounted to wooden scaffolding with screws
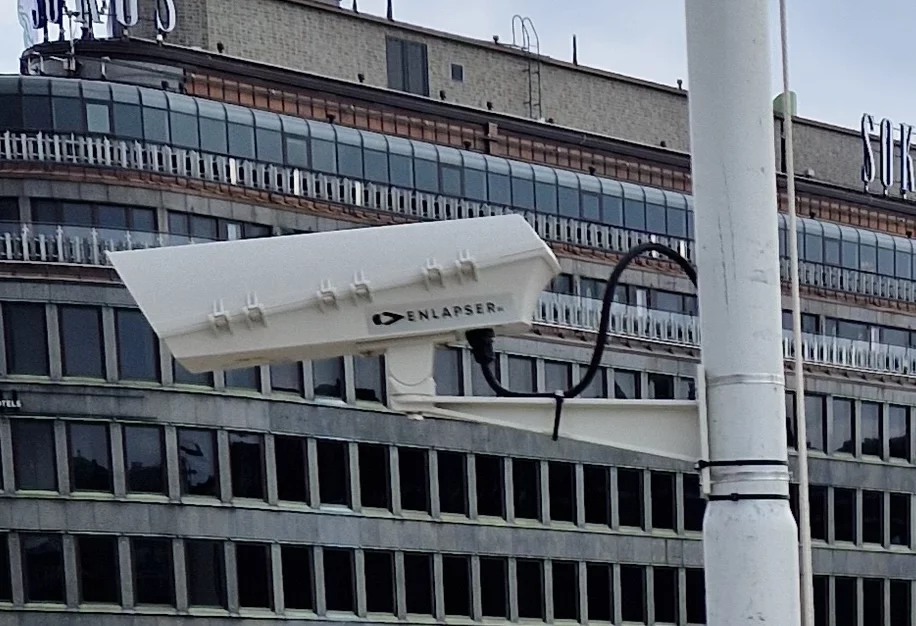
Common locations: site office roof, lamp posts, tower cranes, neighboring building roofs
Camera Alignment
Once the camera is attached to a suitable installation location, connect it to power and wait approximately five minutes. Photos will appear automatically in the project's photo player in your web browser.
Based on the photos, fine-tune the alignment. Wait a minute for the latest photo to update, and adjust again if necessary.
Our customer service can provide additional guidance and assistance with installation planning and implementation.
Help with Installation
Sometimes the best camera view is from a neighboring building. Installing on third-party property requires proper agreements — we can help.
Property owner permission for camera placement and power access
Access arrangements for installation, maintenance, and removal
Documentation and restoration commitments
We provide ready-made permission templates and can assist with negotiations to make the process smooth for all parties.